The humble refrigerator is an essential part of every modern kitchen. Like all essential devices, the fridge too at times could do the same with some care as it is also prone to wear and tear as it remains busy at storing food items and keeping them cool as well as fresh.
The routine and deep refrigerator cleaning and care steps and tips in this article will help you ensure that this workhorse of your kitchen performs to optimal levels.
When it comes to refrigerators more often than chances are that it needs to be cleaned with more frequency than the present cleaning intervals. It is also found that some perishable items often are left to themselves at the back of the fridge.
With regular cleaning of your fridge not only can you ensure that it stays in a favourable condition but you are also able to get rid of unpleasant smells emanating from the device.
However, you need not fret as common household items are all you need to clean things up. You don’t need anything beyond simple household cleaning items like dish soaps, baking soda, dry clothes and water to keep things neat and tidy.
Refrigerator Drawers and Shelves Cleaning
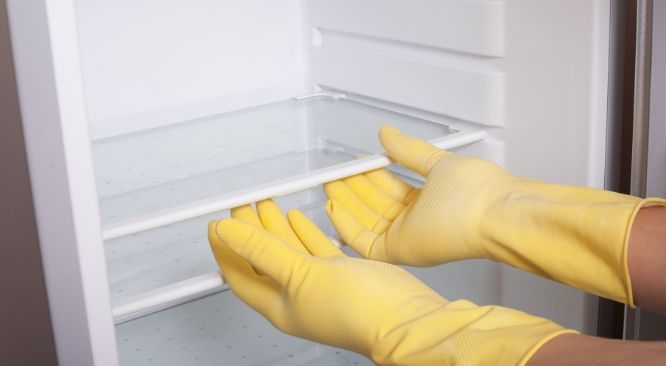
Step 1- The first thing you need to do in this refrigerator cleaning exercise is to get things like the shelves of the fridge the wire racks and the drawers out of the way and hand wash them in hot water while using mild dish soap.
However, make it a point to let the glass components reach room temperatures before introducing them to hot water as otherwise, it may lead to the glass items developing cracks

Step 2- For the stubborn food spills, cover them with a warm and wet cloth for some time like a few minutes which helps to make the spill softer and hence more easy to remove by applying a non-abrasive scrubber. Keep a keen eye for the bottoms of the wire racks as it is easy for food debris to accumulate in those spaces.
Fridge Interior Cleaning
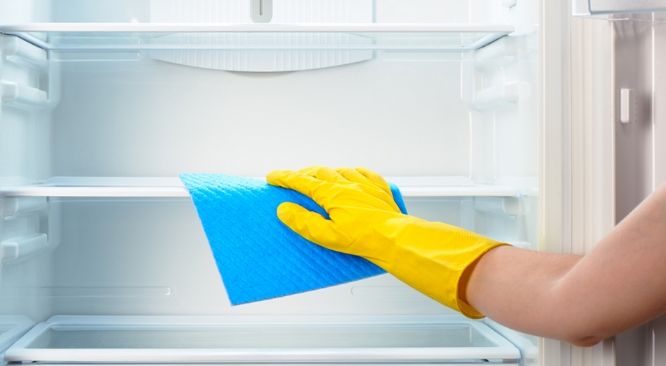
Step 3- To negotiate the cleaning of non-removable shelves and drawers of the fridge which are usually found at the internal compartment side faces, make use of the water and baking soda you have collected earlier. First, make a mixture consisting of 7/8ths of water and 1/8 of baking soda before washing the
fridge insides with the same. Be wary of using commercial cleaners to clean fridges as the scent they have might get transferred to the food you store. While cleaning this fridge part follow the top to bottom rule as it would prevent drips on already cleaned fridge surfaces.
You would do well to use a dedicated toothbrush for cleaning in addition to similarly dedicated toothpicks that reaches out to crevices and cracks which are inaccessible with a cloth. After all, this is done you need to wipe everything dry by the help of a clean towel.
Getting Rid of Fridge Odors
Bad odour is something you want to keep off your fridge unless of course, you like smelly food particularly if the smell is foul. We take it for granted that you don’t want a refrigerator inside environment that does breed foul smell.
The good news is that you can avoid a smelly refrigerator without having to take recourse to a harsh chemical-based cleaner.
Step 4- So, you have dried all the fridge surfaces after rinsing them. Now it is time to deodorize the device by leaving a dry baking soda filled open container on the bottom shelf of the fridge. This results in future odours being absorbed and thus prevented from staying on the fridge inside. It is a good idea to keep it there.
Step 5- Once the cleaning process of the fridge inside has been completed it is time to put back everything in its proper place. You could do with some amount of organization and decluttering while carrying this step out.
Some common things to observe are getting rid of spoiled and expired food, grouping the same food types together and making use of the containers and bins for corral food items.
Gasket Cleaning
The rubber gasket which you will find around the door of the fridge deserves special attention. You need to keep it clean besides being eminently supple to ensure that the seal remains tight.
Step 6- Ensure that you make use of warm water and liquid dish soaps if fighting grime that commonly occurs is your aim. If you wish to ward off mold it is better to clean the gasket with a bleach cleaner. Make sure you rinse the same thoroughly and comprehensively and wipe the same till it dries off.
It is a good idea to apply a thin coating of petroleum jelly to the seal which would serve to prevent it from drying out completely.
Cleaning the Refrigerator Exterior
It helps to have a fridge that not only healthily stores food but sparkles with health on it's outside as well.
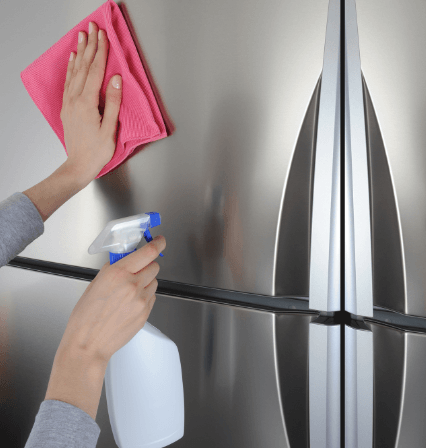
Step 7- To achieve this you need to first spray a piece of clean cloth with an all-purpose cleaning substance and then wipe the exteriors.
Pay special attention to the handles of the fridge as this is a common place for the grime to accumulate on.
While doing this once in a while, wipe down from the refrigerator top also as it is quite common for the dust to settle down over there.

Special Case For Stainless Steel Fridges
If you are cleaning the exteriors of a stainless steel refrigerator then you can clean smudges and fingerprints by the following steps:
Step 7- If it is a quick clean that you are after then all you have to do is to successively clean the surface with a damp and dry microfiber cloth.
If the task is a little bit more difficult due to stubborn grime then you can put into use rubbing alcohol while keeping in mind to always wiping along the grain of the surface.

Refrigerator Coil Cleaning
Refrigerator Coils are usually the part of the fridge that you can see. Though indeed cleaning them is a tad more difficult, if you carry it out your refrigerator will function better and have a longer lifespan.
The steps are as follows:
Step 1- The first thing to do while cleaning the coils is to get hold of the owner's manual. If you can't locate your copy, go online and search.
This is likely to contain information specific to your fridge model about the coils and its cleaning.
Step 2- It is needless to say that irrespective of the fridge model, cleaning the refrigerator begins with unplugging the device

Step 3- It is then time to locate the soils viz are they on the underside or the refrigerator back. If you are on the backside of your fridge then take care to pull the device away from the wall.
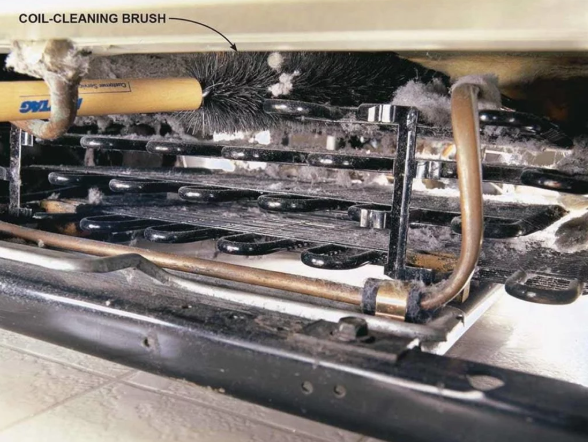
Step 4- Make use of special coil brushes which is a skinny and long brush skin to one that cleans bottles, to clean the area around the coils.
Step 5- The last thing you need to do is to get rid of the debris collected on the floor by sweeping or vacuuming the same. You are now all set to plug in the fridge again after putting it back in place.
If your fridge has its coils at its bottom you should start by removing the grill component. The rest of the steps are the same.
Cleaning Refrigerator Mold
Mold can get to your fridge as a result of spilling moldy items or leaving your fridge unattended and unplugged for quite some time. As a result of their chill and often damp environment,
fridges are vulnerable to mold. In this don’t rely on bleach or abrasive cleaners. Instead, do the following:
Step 1- The first thing to do is to get hold of some baking soda and mix in a tablespoon of the same with about a quart of hot water.

Step 2- Then it is time to wipe the modly surface in the downward direction before wiping the whole dry thoroughly, Keep in mind that you need to keep the moisture in check as it lets mold thrive.
Steps for Prevention of these Ills
It is important to adopt preventive measures to ensure that dirt, grime and other refrigerator ills do not occur all too frequently. You can do this by avoiding sloppy containers for your food inside the refrigerator, also, by avoiding storing veggies and fruits that are already spoilt.
You should try to keep the fridge away from anything that is not fresh or has expired. Make use of baking soda as well as water to rid cans, bottles and jars from any sort of crusty lids or drips.
Use a piece of clean cloth in the refrigerator to clean things in the fridge before you put them back in and make sure to keep things dry. You can make your job a whole lot easier by practising this rule as and when you use foods while cooking or preparing meals.
